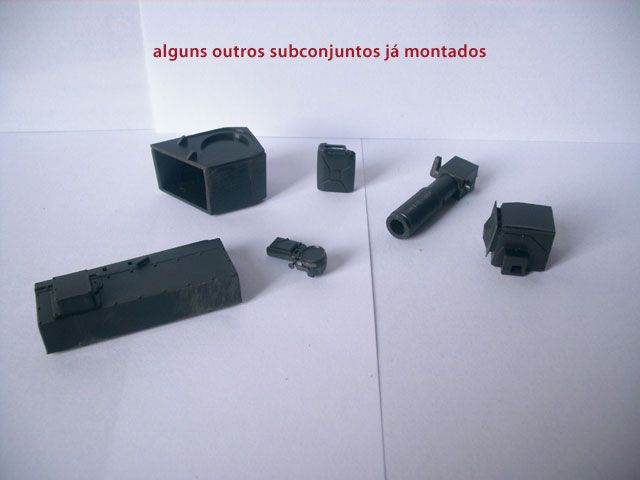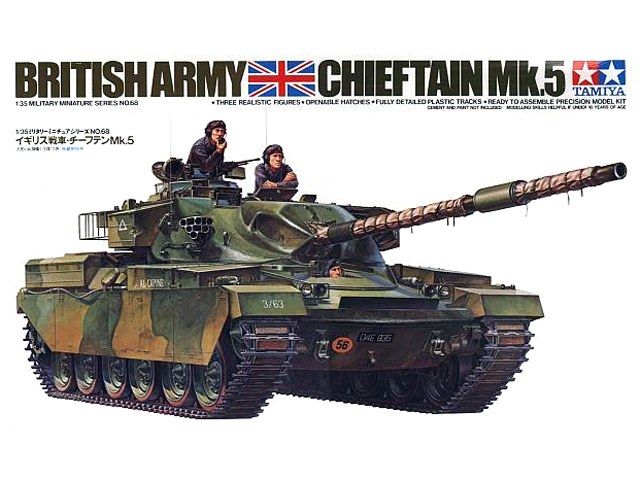
Vou com esse modelo “velhusco” da Tamiya (o molde é dos anos 70), adquirido na segunda metade dos áureos anos 80.
Nas minhas pesquisas preliminares descobri que na verdade, apesar de ser vendido como um Mk.5, o kit da Tamiya traz características do Mk.3 - as duas versões se diferenciam externamente pelo formato do pacote NBC (Nuclear, Biological, Chemical) logo atrás da torre e pelo gearbox (compartimento do motor). No caso do gearbox, as grelhas do motor no casco superior do tanque são diferentes nos 2 modelos.
Esse kit é definitivamente um Mk.3.
Ainda assim, faltam alguns detalhes no modelo para ser um perfeito Mk.3. A lista de modificações/alterações é extensa, apesar de serem quase sempre pequenos detalhes. Aqui está ela, retirada da web:
-----------------------------------------------------------------------------------------------------
HULL MODIFICATIONS
- Replace the glacis splashguard with one with a bend near the top and add the stays which attach it to the headlight guards;
- Replace the rear portion of the headlight guards with ones which project further back;
- Replace the wading rail with 1mm x 1mm U section brass;
- Add the hooks for the wading trunking (one on glacis, one on exhaust box, one on LHS and two on RHS);
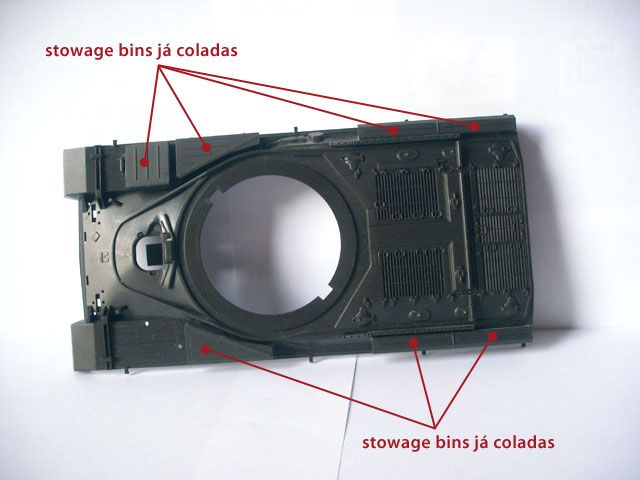
- Add the hull fire extinguisher handles and brackets between the first and second trackguard stowage bins each side;
- Add the retaining clip for the driver's hatch when open;
- Replace the splashguards either side of the driver's periscope;
- Add the trunking for the dozer blade inboard of the right front stowage bins;
- Add wing mirrors to the front trackguards;
- Add the retaining catch for the open driver's hatch on the glacis and its protective plate;
- Add hasps and padlocks to all stowage bins;
- Rebuild the intake on top of the exhaust box on the hull rear;
- Rebuild the armoured box for the telephone on exhaust box on the hull rear (it is easier to just rebuild the exhaust box as well, or there will be a hole where the telephone comes off) as it is spaced off the exhaust box on four threaded posts;
- Add hooks for two spare tracklinks on the rear face of the exhaust box;
- Rebuild the inner ends of the rear mudguards, which are the wrong shape;
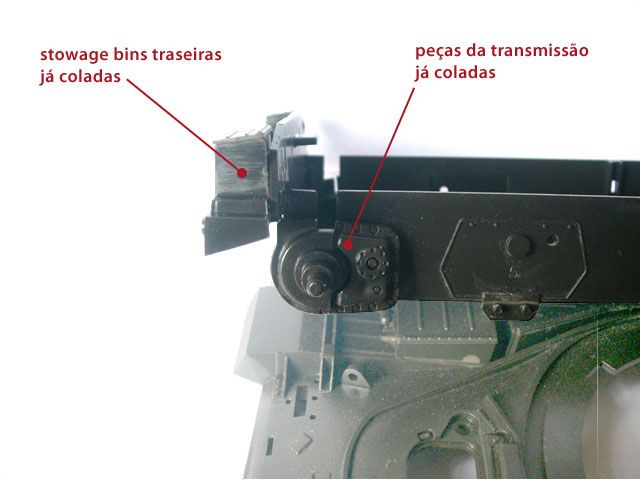
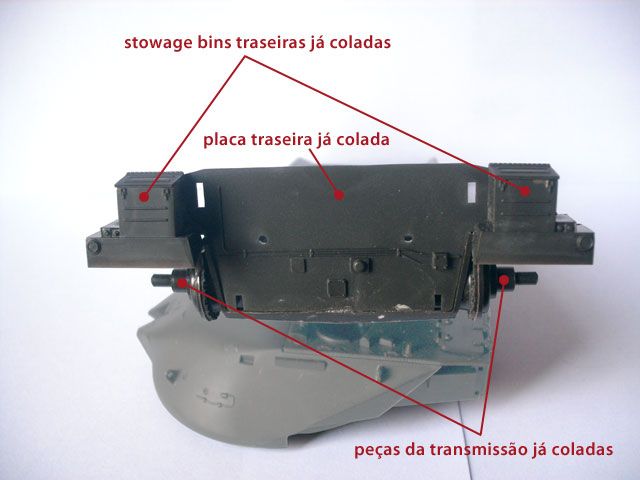
- Add the pressed 'X' reinforcement to the sides of the hull rear stowage bins;
- Rebuild the light clusters on top of the rear mudguards, as they should not be identical both sides;
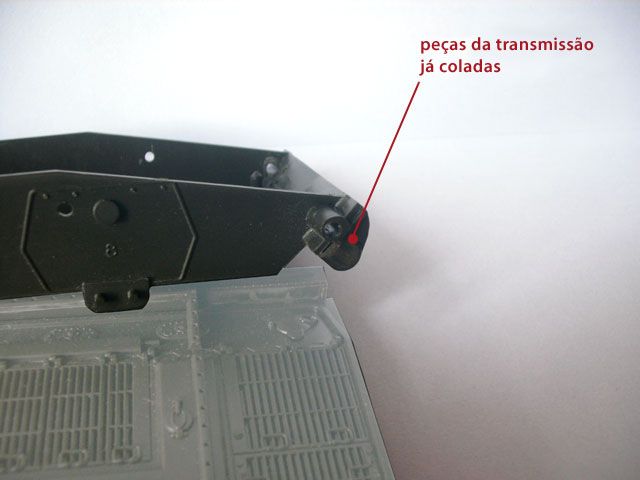
- Add the rests for the opened outer panels of the transmission covers inboard of the long stowage bins on the hull sides;
- Add the threaded socket to the top of the 'T' shaped panel over the engine;
- Replace the triangular panel at the right front of the engine deck (over the engine breathers) with a louvred one;
- Add the brackets which are used to bolt the trackguard bins to the trackguards. Those between the square and triangular bin are attached to the fire extinguisher pull handle brackets;
- Remove all the lifting handles on the louvred engine and transmission covers, add mesh covers to them and replace the lifting handles from wire or rod;
- Add two small attachment points (like towing/lifting eyes) to the extreme front of the glacis, for the dozer blade;
- Add a bazooka plate support arm between the front roadwheel and idler;
- Replace the bazooka plate brackets on the hull sides;
- If the bazooka plates are to be fitted, replace them with brass or plastic sheet;
- If the bazooka plates are to be omitted, rebuild the outer ends of the support arms to the correct pattern.
TURRET MODIFICATIONS
- Rebuild the base and cover for the loader's periscope. The latter can come from a Challenger;
- Add the polygonal overpressure relief valve cover behind the commander's cupola;
- Add the two blocks with threaded holes below the gun mantlet for removing the 120mm barrel;
- Extend the thermal sleeve as far forward as the rear of the fume extractor;
- Rebuild the turret stowage baskets, or at least the way they are attached to the turret as they are attached by brackets not welded direct to the turret side;
- Add the armoured pipe and housing below the LHS stowage basket which supplies power to the searchlight;
- Replace the cover for the commander's sight;
- Add a cable from the block on the left of the cupola to the commander's GPMG;
- Add a cable from the rhomboidal block on the right of the cupola to the commander's spotlight;
- Add two cable guides to the top outer ends of the turret rear plate;
- Add the stop for the searchlight door to the door front;
- Add the four lifting rings (there are at least two versions) to the top of the searchlight housing;
- Cut the top face of the searchlight housing from the inner rear corner, perpendicularly to the front and rear, to a point directly forward of it and immediately behind the front plate. There should be a small overlap of the front plate compared to the inner edge of the top plate. Fill the inside face of the searchlight;
- Add the three blocks on the turret (two forward, one behind) that support the searchlight, and the brackets on the light and their associated bolts;
- Add a hasp to the central part of the join in the loader's hatch;
- Replace the brackets for the smoke dischargers with ones made from flat section strip;
- Detail the right side and rear faces of the gunner's sight;
- Add a pad to the inside of the forward loader's hatch and a strip inside the join between front and rear hatches;
- Rebuild one side of each of the smoke discharger clusters to represent the correct cast shape;
- Drill (carefully) down the fixing wheel on the top of the commander's spotlight bracket to give the impression that it is a ring;
- Add the brackets to the commander's stowage bin to space it off the turret and fill the inner face to avoid a hollow appearance.
-----------------------------------------------------------------------------------------------------
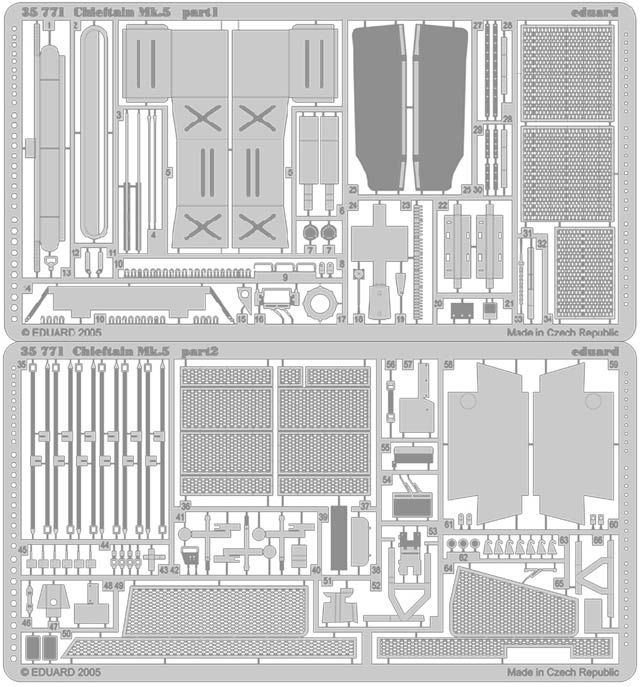
Felizmente, o set de PE de um famoso fabricante do leste europeu cobre algumas dessas alterações.
Como não pretendo comprá-lo, vou usar seus esquemas (que achei na web) como gabarito para os detalhes em metal (alumínio de lata e similares). Olha o esquema do PE aí, já retrabalhado graficamente para impressão:
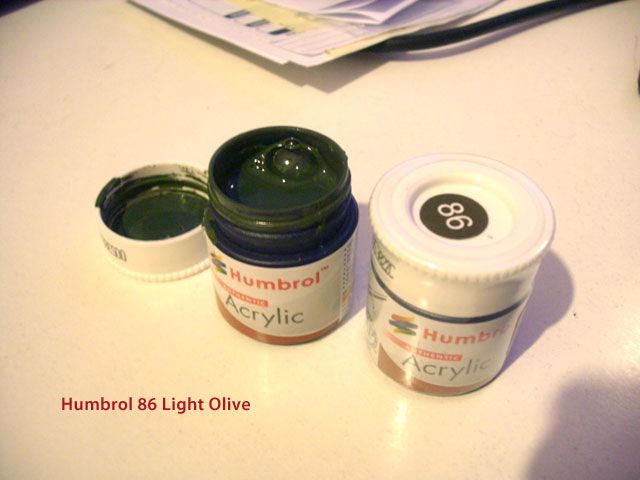
Então vai ser um Chieftain Mk.3, com detalhes adicionados na medida das minhas habilidades e de minha paciência. A princípio o esquema de pintura vai ser o do “Al Capone”, em duas cores: preto (NATO Black da Tamiya) e verde (o que bate certinho é a Humbrol 86, segundo minhas pesquisas).